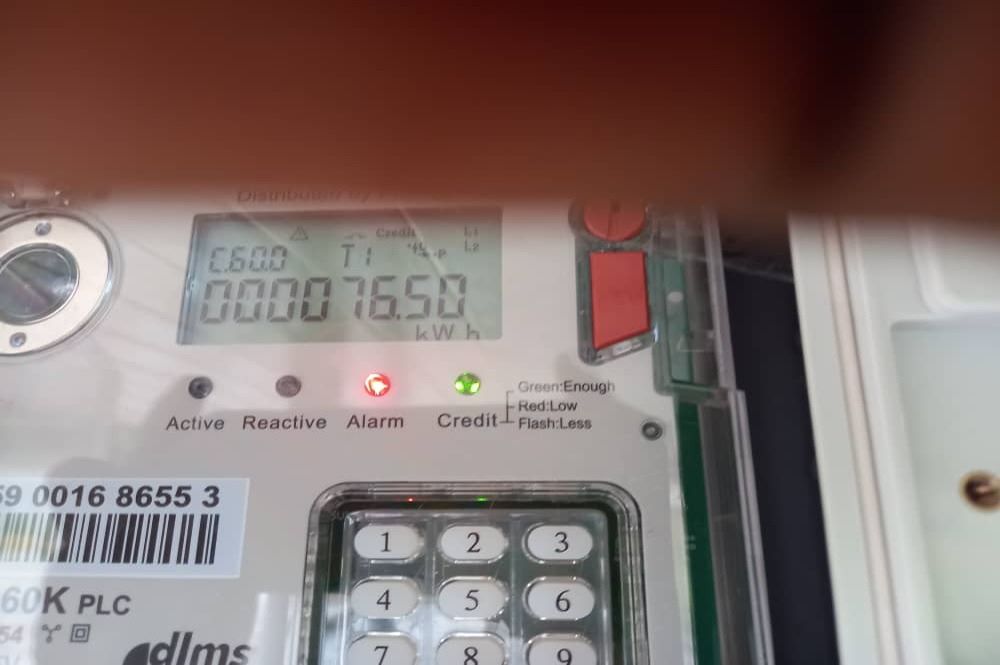
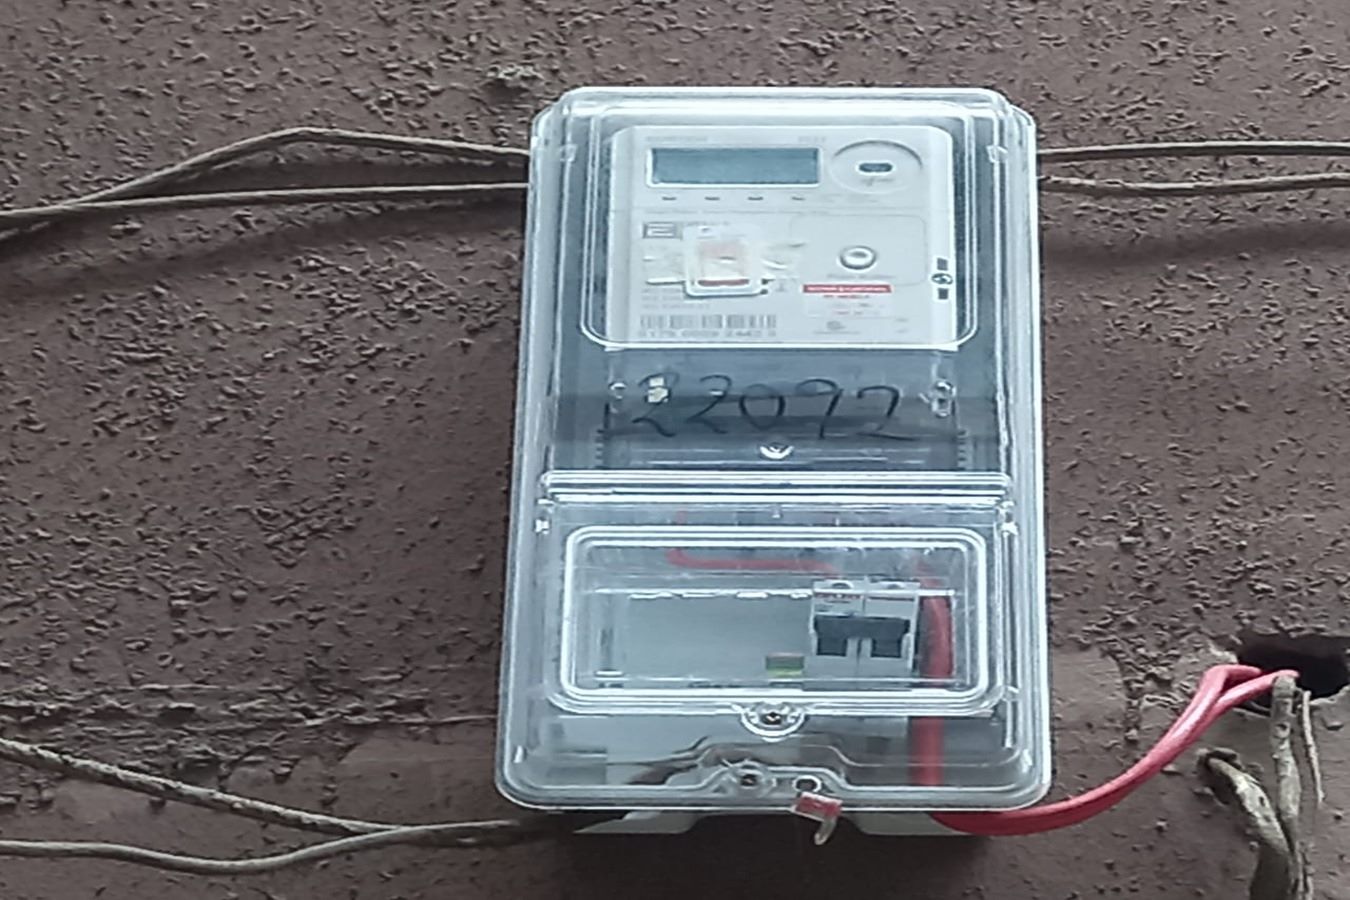
With the growing popularity of electric prepaid meters, homeowners and businesses are seeking a more convenient and efficient way to manage their electricity consumption.
Prepaid meters allow users to monitor their energy usage in real-time, thereby promoting energy conservation and providing greater control over electricity expenses.
If you’re looking to install an electrical prepaid meter, this step-by-step guide will walk you through the process.
A Step By Step Guide: Installing Electric Prepaid Meters

Step 1: Gather the Necessary Equipment and Documentation
Before you begin installing the prepaid meter, ensure that you have the following equipment and documents readily available:
- Electrical prepaid meter (purchased from a reputable supplier)
- Installation manual provided by the meter manufacturer
- Meter box or enclosure
- Circuit breaker or switch for electrical isolation
- Appropriate electrical cables and connectors
- Wire strippers, pliers, and screwdrivers
- Personal protective equipment (PPE) such as safety gloves and goggles
- Any necessary permits or approvals required by local authorities or utility companies.
Step 2: Choose an Ideal Location for the Meter
Identify a suitable location for the prepaid meter installation. It should preferably be easily accessible, well-ventilated, and away from water sources or extreme temperatures. Ensure that the area has sufficient space for the meter and related components, such as the circuit breaker and wiring.
Step 3: Disconnect the Power Supply
Safety is paramount when working with electricity. Begin by turning off the main power supply to the building. Locate the main circuit breaker or switch in your distribution board and turn it off to disconnect the power.
Step 4: Install the Meter Box or Enclosure
Mount the meter box or enclosure on the wall in the chosen location. Ensure that it is securely fastened and positioned correctly, aligning it with the relevant guidelines provided in the installation manual.
Step 5: Connect the Electrical Cables
Follow the manufacturer’s instructions to connect the electrical cables to the prepaid meter. This typically involves connecting the live, neutral, and earth wires to their respective terminals. Use appropriate connectors and ensure that the connections are tight and secure. Avoid exposing any bare wires to prevent electrical hazards.
Step 6: Connect the Circuit Breaker or Switch
Install a circuit breaker or switch between the main power supply and the prepaid meter for electrical isolation and protection. This component will allow you to easily disconnect the power supply when necessary, such as during maintenance or emergencies. Consult a qualified electrician if you are unsure about the correct installation procedure.
Step 7: Perform a Safety Check and Test
Before restoring power, carefully inspect all connections, ensuring there are no loose wires or exposed conductors. Double-check that all components are properly installed and that the meter box is securely closed. Once you are confident in the setup, restore power by turning on the main circuit breaker or switch.
Step 8: Register and Activate the Prepaid Meter
Contact your local utility company to register and activate the prepaid meter. They will guide you through the necessary procedures, including providing the meter’s unique identification number and arranging for the meter to be configured on their system. Follow their instructions carefully to ensure a smooth activation process.
Frequently Asked Question On Electric Prepaid Meters

1. How does a prepaid electric meter work?
An electrical meter that accepts prepayment from consumers is known as a prepaid meter. Customers that utilize prepaid meters can load credit into their meters, which is subsequently used to power the electrical equipment in their homes.
2. What are the two types of prepaid meters?
Prepaid electricity meters come in two main varieties: single-phase meters and three-phase meters. These meters, which are additionally referred to as prepaid meters, enable consumers to prepay for power in advance, efficiently regulating their energy use and lowering their electricity costs.
3. What is the difference between prepaid meters and postpaid meters?
The payment mechanism is the first distinction between prepaid and postpaid electricity, as the name suggests. Prepaid electricity starts with a payment mechanism. In contrast to postpaid electricity, which has a payment mechanism in the form of a monthly bill, you must deposit electricity in the form of a token.
4. What is the meaning of postpaid?
Users with postpaid connections obtain cellular carrier services and are subsequently required to pay the bill at the conclusion of the billing cycle. Users can choose from a range of postpaid plans that their operators provide, just like prepaid subscribers.
5. Can a prepaid meter work without electricity?
What transpires in the event of a power outage? The meter will save data on the battery in case there is a power outage that impacts the property where it is situated. However, the property will also be without electricity because no power is going into the prepaid electricity meter.
How To Install Electric Prepaid Meters: My Final Thought
Installing an electrical prepaid meter can offer numerous benefits, including better control over electricity usage and expenditure.
By following this step-by-step guide and adhering to the manufacturer’s instructions, you can successfully install a prepaid meter in your home or business.
All parties involved will benefit from the utility’s effective deployment of the prepaid system, as well as from customer acceptance and regulatory backing.
Besides, the payment method has potential benefits, but there are several challenges that must be resolved when switching from a traditional postpaid system to a prepaid system in order for its widespread adoption to prove advantageous to all parties involved.
Further Reading And References
securemeters.com: Summation metering


