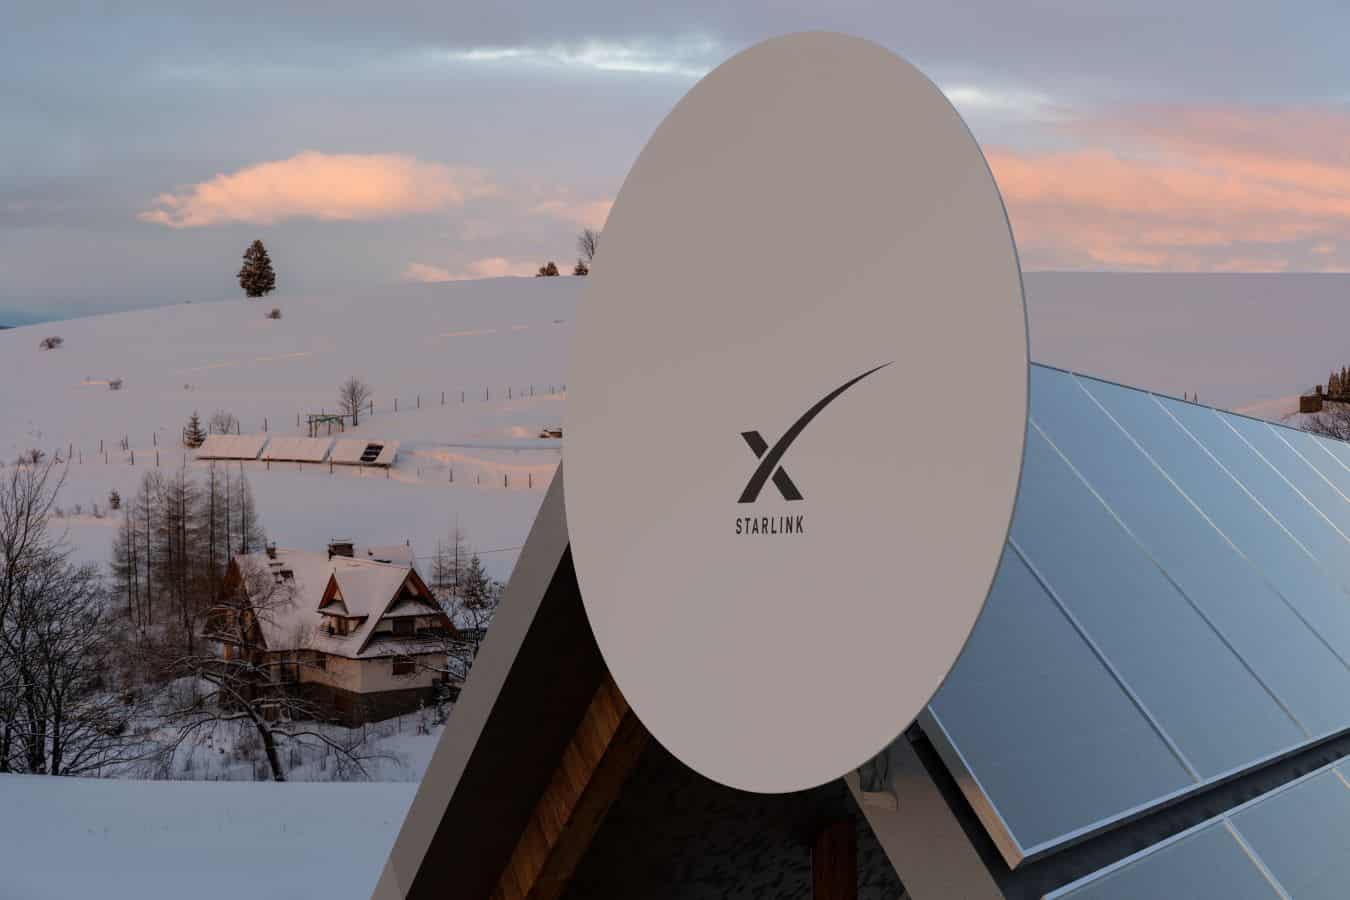
Starlink Satellite Internet is here!!! Are you looking to stay connected with the world and take your internet experience to the next level? Look no further than Starlink satellite internet.
As one of the best options for satellite internet, Starlink has been gaining a lot of traction among internet users around the world.
With its high-speed internet, reliable connection, and virtually unlimited data, Starlink is the perfect choice for those who want to stay connected in any part of the world.
Meanwhile, before you can enjoy the benefits of Starlink, you’ll need to learn how to install it.
This step-by-step guide to installing Starlink satellite internet will tell you everything you need to know about the process, from selecting the right equipment to troubleshooting any issues that may arise.
So, what are you waiting for? It’s time to get connected with Starlink!
What is Starlink Satellite Internet?
As the name suggests, Starlink is a service that combines satellite internet with a dish to provide you with high-speed access.
Using a fleet of satellites orbiting the Earth, Starlink offers a dependable connection with speeds up to 1 Gbps.
This speed, combined with the ability to connect from almost anywhere in the world, makes Starlink a great way to stay connected.
You can also use it to connect multiple devices at once with high-speed wireless internet or to extend your cable internet service to a larger area.
With StarLink, you can also access many of the same online services that are available with cable internet, including streaming HD video and online gaming.
Starlink Satellite Internet: Selecting the Right Equipment
If you are considering installing a satellite internet setup, it’s important that you select the right equipment.
Depending on your needs and location, you should select the right satellite modem, dish, and installation equipment.
The most important thing to keep in mind when selecting the right equipment is your location and the amount of bandwidth you need.
Before buying a satellite internet setup, first, determine your needs.
The best way to do this is by using a speed test.
Using your computer, smartphone, or tablet, you can easily see how fast your internet connection is currently.
From there, you can figure out if you need something faster or if you can work around your current speed.
Starlink Satellite Internet: Installing the Starlink Dish
Once you have your equipment, it’s time to install the dish. Depending on your location, you may need to install a special mounting kit for your dish.
Also, make sure you keep the installation area clear of any trees, power lines, or other obstacles that could damage the dish.
Once you have the installation area cleared, you can begin installing the dish.
To start the installation process, position the dish on the mounting bracket and align the dish with the bracket. Then, attach the dish to the mounting bracket using the hardware provided with the dish.
Starlink Satellite Internet: Connecting the Power and Data Cables
Once you have the dish mounted and connected to the power and data cables, you’re ready to connect them to the rest of your equipment.
For the modem, connect the satellite internet modem to the Dish antenna Dish-to-computer cable Dish-to-computer power cord For the router, connect the CAT5/6 cable between the dish and the router.
Then, connect the router’s Ethernet cable to the computer or modem.
Connecting the Wi-Fi Router
Once the power and data cables are connected, you’re ready to connect the router. To do this, you’ll need to connect the Wi-Fi router to the modem, computer, or other wireless routers.
Next, you’ll need to connect the Wi-Fi router to the power outlet.
Finally, you’ll need to connect the Ethernet cable from the Wi-Fi router to the computer or other router.
You’ll want to make sure that the router is connected to the internet (through the dish or another router) and that it is within range of your devices.
You can also set up a password on the router to restrict access by IP address.
Activating the Starlink Service
Once all the equipment is connected, you’ll need to activate your service.
For most plans, you’ll be provided with a one-time user key that you’ll input on the modem or router.
This key will allow you to use your service, while any subscription fees will be invoiced monthly.
If you ordered your equipment directly from Starlink, it will come with a one-time user key.
You can activate the service by entering the key on the modem or router.
Note that some providers may require that you activate your service through your billing account.
Troubleshooting Issues
Now that everything is set up and activated, you’ll want to make sure that everything is connected and operating properly.
If something is operating out of spec, like a power outage or cable break-in, it could create enough interference to disrupt your service.
To troubleshoot issues like these, you can use an internet speed test to ensure that everything is working properly.
If everything checks out, you can then focus on reducing any interference. If you notice any issues, like interference, try turning off any wireless devices that may be causing interference.
You can also try moving the router or dish to different parts of the installation area, or increasing the distance between them.
My Final Thoughts: Starlink Satellite Internet
If you’re ready to enjoy the benefits of satellite internet, you won’t want to miss out on Starlink.
With speeds up to 1 Gbps, Starlink is one of the fastest satellite internet services available.
You’ll also appreciate the ability to connect almost anywhere in the world, as well as the reliability and security of satellite communication.
You can share your thoughts with us in the comment section below.
I hope this Powerversity review was helpful, do visit the following pages for more of this:


